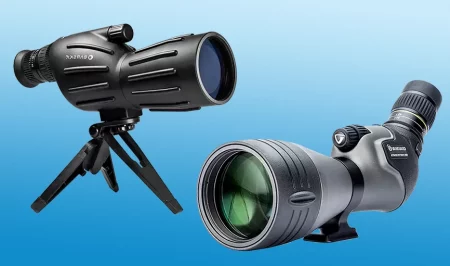
Digiscoping is referred to the use of a spotting scope or telescope for taking pictures and videos by mounting a DSLR or a smartphone.
Today, our guide on taking pictures through a spotting scope teaches you how to do that and brings tips and tricks to improve this particular style of photography.
Not just that, we have dedicated a complete section of this guide to DSLR vs Smartphone for digiscoping. It is because while smartphones these days have high-quality cameras with results as good as a professional camera, their use has become quite common even by professionals.
Furthermore, while it is not a primary photography technique, it does have its limitations that you can overcome simply by adjusting a few settings that we shall also include in this article. While there is plenty of stuff to cover, let us move straight to it.
Step-by-Step Guide
Note: Remember, digiscoping with a spotting scope, telescope, and binoculars use the same idea at their core so if your main gadget is one of the latter items, this guide is for you as well. The major difference between the three is magnification that doesn’t hurt the core process or settings.
Connecting Your Camera To A Spotting Scope
Anyone getting starting with digiscoping would want to learn how to connect a camera to a spotting scope. We have explained the complete process in our guide on how to attach a DSLR to a spotting scope (*interlink here). Here, we are just summarizing the process:
- Install a T-ring or T-mount suitable for your digital camera.
- For that, you will need to replace the camera’s eyepiece rubber cap and camera lens with the T-ring.
- Once the combination is ready, it is ready to be mounted on a spotting scope’s eyepiece.
- A spotting scope features a thread for a digital camera to be mounted on it.
- For a smartphone, you will need to buy a smartphone holder compatible with the spotting scope thread if you haven’t been lucky enough to get one inside the scope’s box.
By following these five simple steps, you would have successfully mounted a digital camera or smartphone for taking pictures with a spotting scope.
Setting To Take High-Quality Pictures With Spotting Scope
Once your hardware is ready to go, it is time that you delve into a few basic settings to take high-quality pictures with your spotting scope:
Magnification
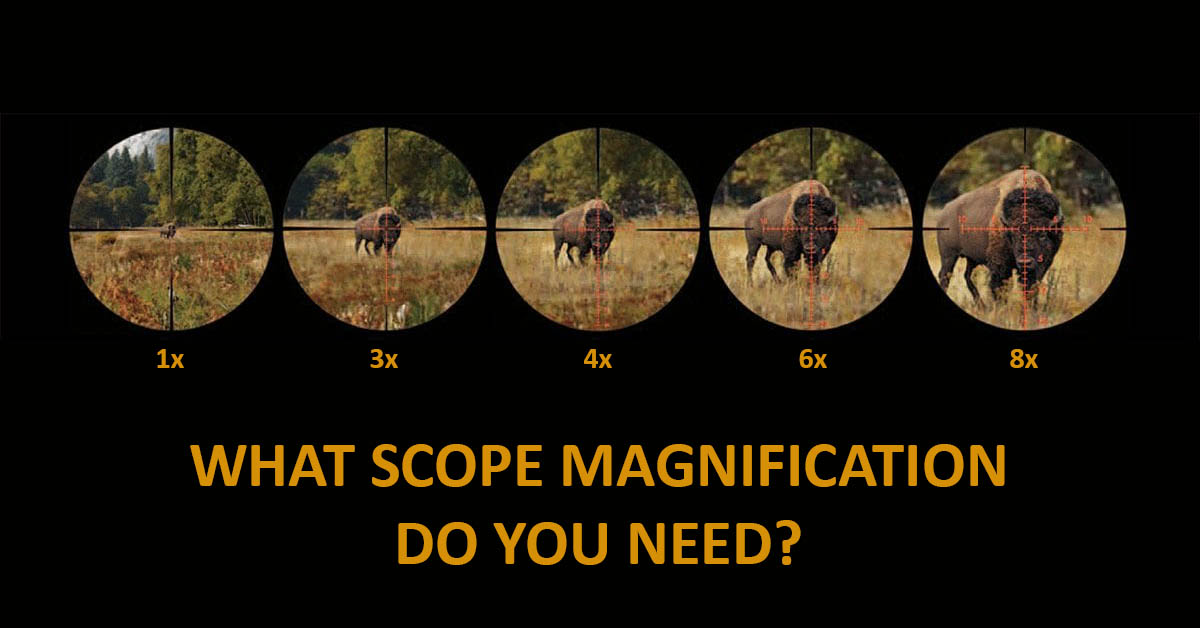
Getting the focus right is the first most important thing. The major reason why a photographer uses an add-on like a spotting scope or telescope is to achieve high magnification ranges which the basic camera lenses cannot deliver.
For this, you will be controlling the magnification from the dial on your spotting scope instead of using the camera settings. However, if you are using a DSLR, using its viewfinder, tweak the focus as much as you can until the result is sharp and crisp.
Depending on the distance to your target and what your spotting scope can deliver, adjust the magnification dial without even a hint of a blur. Once the focus is sharp and spot-on, you’re good to go.
ISO
The ISO of a DSLR has to be the second most important camera setting because the shutter speed of taking photos depends on it.
Now, you can set the ISO as high as 1600 and take photos rapidly. However, it does have a limitation that on a higher magnification, the photos will have a lot of grain.
However, for bird and wildlife photography that is usually done during the day where the picture quality due to bright daylight will be too high, it will be at the cost of a lower ISO setting i.e. 100 or 200.
This is not an issue when you are not taking pictures from a great distance since you can set the ISO to 1600, have brighter and crisp images, and at a great pace.
Now, this only means that you will be taking very high-quality pictures but at a slower speed! This can be balanced using the right aperture settings that are coming ahead.
Apertur
When you have your DSLR attached to a spotting scope, always use the aperture priority mode, especially when we are trying to balance the aforementioned slow shutter speed at a greater distance.
For instance, the lowest f setting (aperture) on a DSLR means the biggest aperture and you should be using it. This is because it determines how big the opening in the lens will be.
With these aperture settings, you will also be balancing the shutter speed, solving the low-speed problem imposed by the lower ISO settings.
Taking faster photos should be a priority because the faster that speed is, there will be less shake in the images, improving the quality of your photography.
With a digiscoping setting, controlling or reducing the shake is one of the harder things to do and that’s where our next big step kicks in.
Using The Tripod
To get crisper, sharper, and stable images with a spotting scope, using a stability stand such as a tripod is inevitable. If you ought to buy one, we recommend getting carbon fiber since they are lighter and are easy to carry around.
Also, the carbon fiber material is much better at dampening the vibrations as compared to the aluminum ones and while doing bird and wildlife photography, that will make a huge difference.
Furthermore, balancing the tripod rail on which the camera and spotting scope are resting is even more crucial. For instance, if it is not balanced and hinging backward, you will need to do that manually, introducing vibrations and thus, shake into your photos.
DSLR vs. Smartphones for Digiscoping
It depends! Which of your DSLR and smartphone has a better camera quality? If your DSLR has a better camera, it is ideal for digiscoping and vice versa.
A spotting scope or telescope has more to do with assisting in achieving high magnification for taking quality photos and less to do with what digital camera device you’re using with it.
Though you must ensure that both your digital camera whether a DSLR or a smartphone and spotting scope are high-quality hardware so they have maximum compatibility together.
Any latest smartphone from top brands like Apple, Samsung, and Huawei have better cameras than an older DSLR which was released; let’s suppose a decade ago.
So if the camera quality of your smartphone surpasses that of your DSLR, it is a better choice for digiscoping. The same is true if you turn the situation around.
Tips & Tricks for Taking High-Quality Pictures Through a Spotting Scope
- If you aren’t getting what your idea of a good picture while digiscoping is, don’t sweat too much over it. You can always do tweaks in software like photoshop and make it good.
- Don’t forget your regular important camera settings color, light, and even air quality, which can affect images.
- If you have set your camera at a higher shutter speed, take as many photos as you can and only keep the good ones.
- Go for a balanced ISO setting. Too fast can compromise the photo quality and your time if it is too slow.
- Taking as much time as you can to focus is crucial for taking a high-quality picture even while capturing a moving target, though you are at the risk of losing it.
To Summarize
- To attach your camera on a spotting scope; replace the rubber cap on the eyepiece and mount it using a T2 mount.
- Get your focus right, high ISO for faster images, lowest aperture for balancing low shutter speed, and achieve stability using a tripod.
- Get good quality optics both on your DSLR and spotting scope for perfect compatibility and high-quality pictures.
Conclusion
With a step-by-step guide to taking quality pictures, DSLR vs. smartphone for digiscoping, and a few crucial tips & tricks, our promise of bringing an ultimate photography guide with a spotting scope has been fulfilled.
However, of human error, if you think we have might missed something and left any query unanswered, let us know if your feedback, and we shall get back to you with answers as soon as possible.


Leave a Reply